If your domain is hosted on a Shared hosting account, you can easily connect a Supersonic CDN to it.
NOTE: The domain should be pointed to our Web-Hosting DNS, Basic DNS or Premium DNS.
To connect your Shared hosting with Supersonic CDN, follow the next steps:
1. First of all, you need to
purchase a Supersonic CDN plan.
2. Once the purchase is confirmed, you will be redirected to the
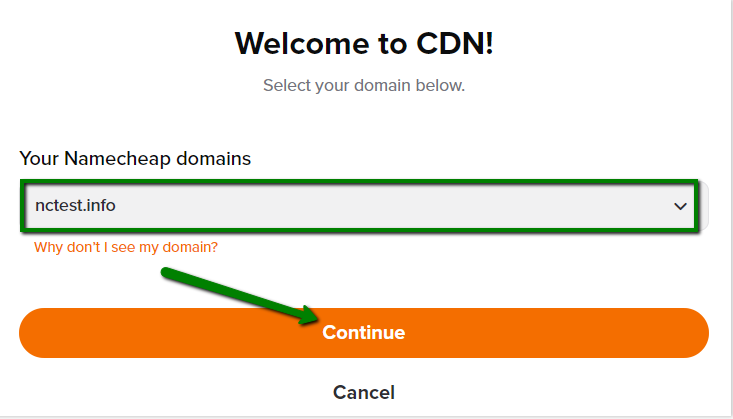
CDN setup dashboard. Choose your domain from the drop-down menu and click
Continue:
NOTE: It is not possible to use Supersonic CDN with subdomains.
2.The final step in the setup will be to paste the
server IP address or the hostname. This information can be checked in the Hosting Welcome Email, in the
Namecheap account >>
Hosting management page or in the
cPanel account >>
General information section.
You can also contact our
Chat Support if you need assistance with it and they will provide you with the needed details.
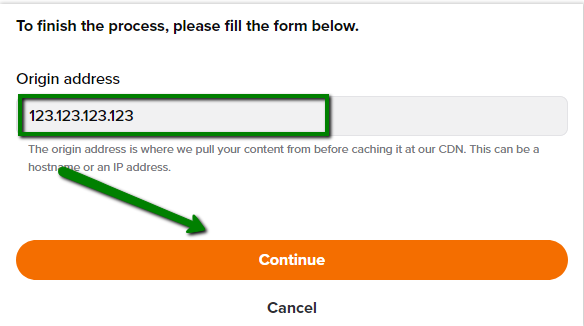
PLEASE NOTE: in case the CDN is being installed for the main domain (the domain your hosting package is attached to), the system doesn't ask to put the origin manually but redirects to the Activate now! page right away.
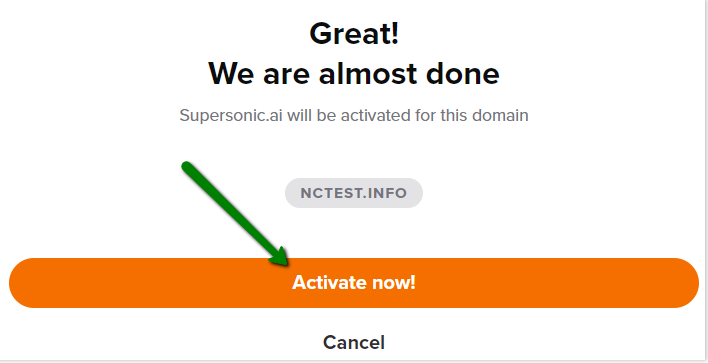
3. Confirm your actions on the next page by clicking on
Activate now!:
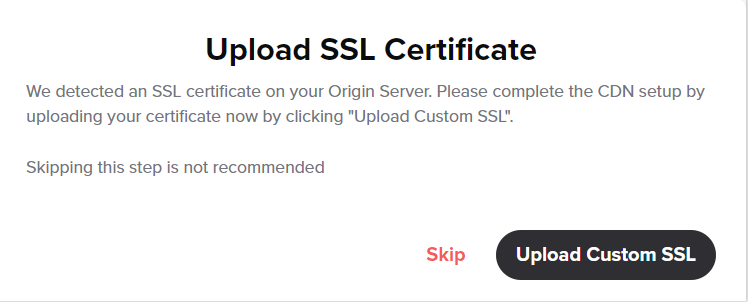
4. Then you will be offered to upload the SSL certificate for the website. You can either upload the SSL certificate at once or skip this step and do it later:
5. After these steps, your website will be added to the CDN and you will get the corresponding notification:

Now you can manage the CDN settings in the Supersonic CDN account for your domain.
NOTE: To complete the Supersonic CDN setup for domains on Web-Hosting DNS, it is necessary to create the website redirect to
www.yourdomain.com in the .htaccess file. For this, feel free to follow
this guide. For ones on BasicDNS and PremiumDNS CNAME record is created automatically.
If your website is created on a CMS, use one of the next articles to change the URL for
WordPress,
Joomla,
Opencart.
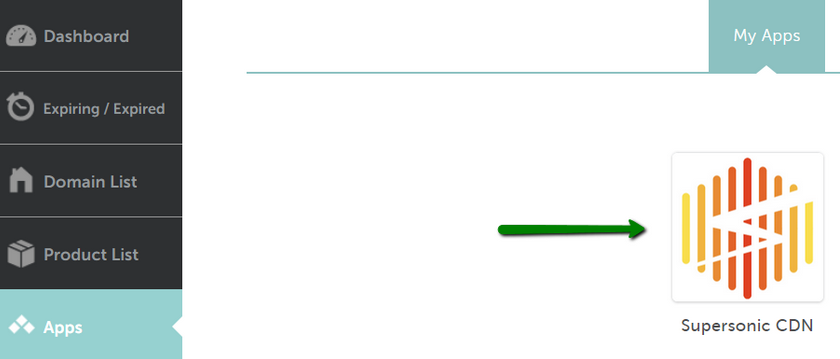
To access the Supersonic CDN account next time, go to the Apps menu in your Namecheap account and click on the Supersonic CDN logo:
Supersonic CDN can be used with EasyWP as well. Check this guide to find the corresponding steps.
That’s it!


