Mailing lists allow you to send emails to multiple recipients in one go. This feature is very useful when you need to send a newsletter or another update to a group of people.
NOTE: In order to prevent spam sending on servers we have implemented the following outgoing limits for our shared packages (so, if you have a mailing list with 20 recipients, 20 emails will be sent out):
- Stellar plan – no more than 50 emails per hour per domain
- Stellar Plus plan – no more than 200 emails per hour per domain
- Stellar Business plan – 10000 emails per hour per domain
- old Value, Professional, Reseller plans – no more than 200 emails per hour per domain
- old Ultimate plan – no more that 500 emails per hour per domain
- old Business SSD plan – no more than 1000 emails per hour per domain
NOTE:In addition, there is a cPanel email recipient limit, according to which it is forbidden to send an email from cPanel to more than 100 recipients. Exceeding this limit will result in a bounce error: ‘too many recipients'.
Creating a mailing list in cPanel:
cPanel allows you to create mailing lists in several clicks:
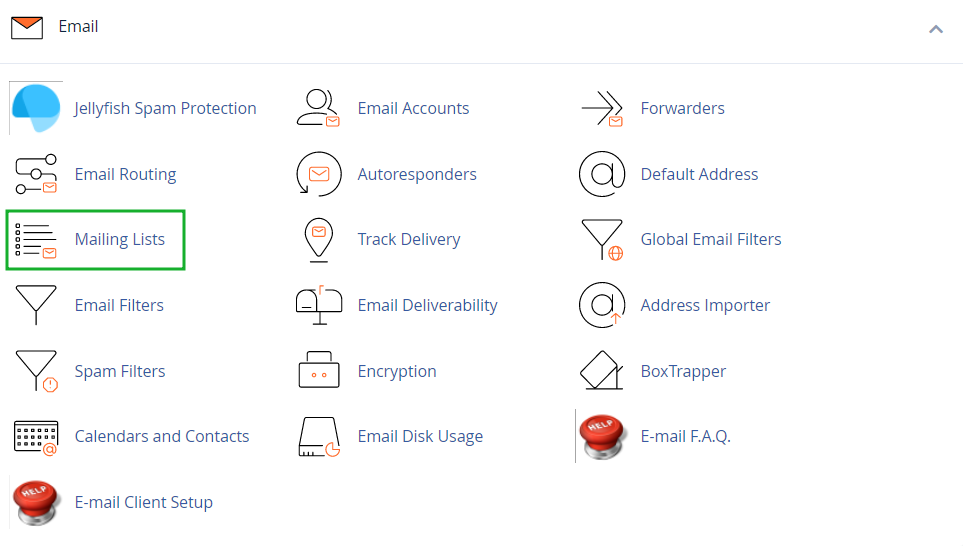
1. Log in to your cPanel, navigate to the
Email section and click on
Mailing Lists:
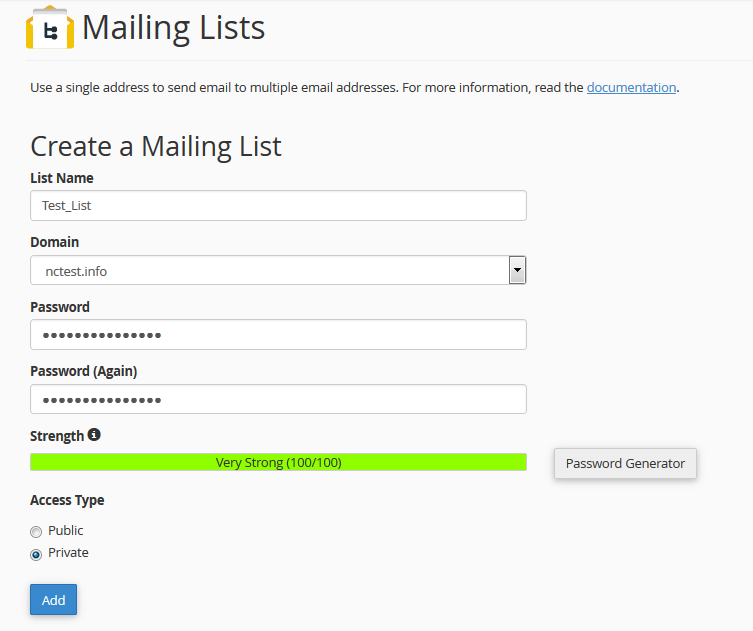
2. In the next window:
- Enter the mailing list name in the List Name text box
- Select a domain from the Domain menu
- Enter a strong password for your mailing list
- Select one of the following access types:
Public: subscriptions are open
Private: the administrator must approve subscriptions
Click on
Add:
Once done, you will see a message about the successful mailing list creation.
Managing mailing lists
All the mailing lists you've created can be found in the
Current Lists section:
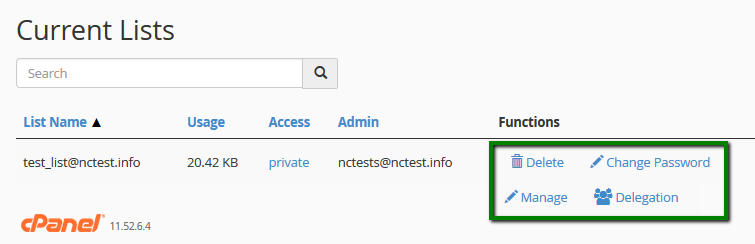
- List Name: name of your Mailing List
- Usage: amount of the disk space that the mailing list uses
- Access: private or public
- Administrator: mailing list administrators
- Functions: administrative functions for the mailing list:
- Delete: the mailing list will be removed
- Change Password: allows changing the mailing list password without having to fill in the old one
- Manage: redirects to the mailing list management dashboard
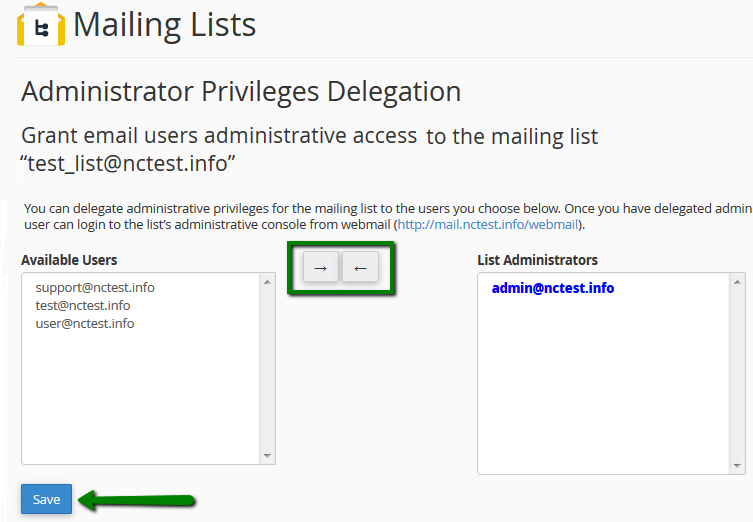
 Delegation
 assigns administrative rights to available users. Use arrows to add/exclude selected users from the list of administrators and click
Save:
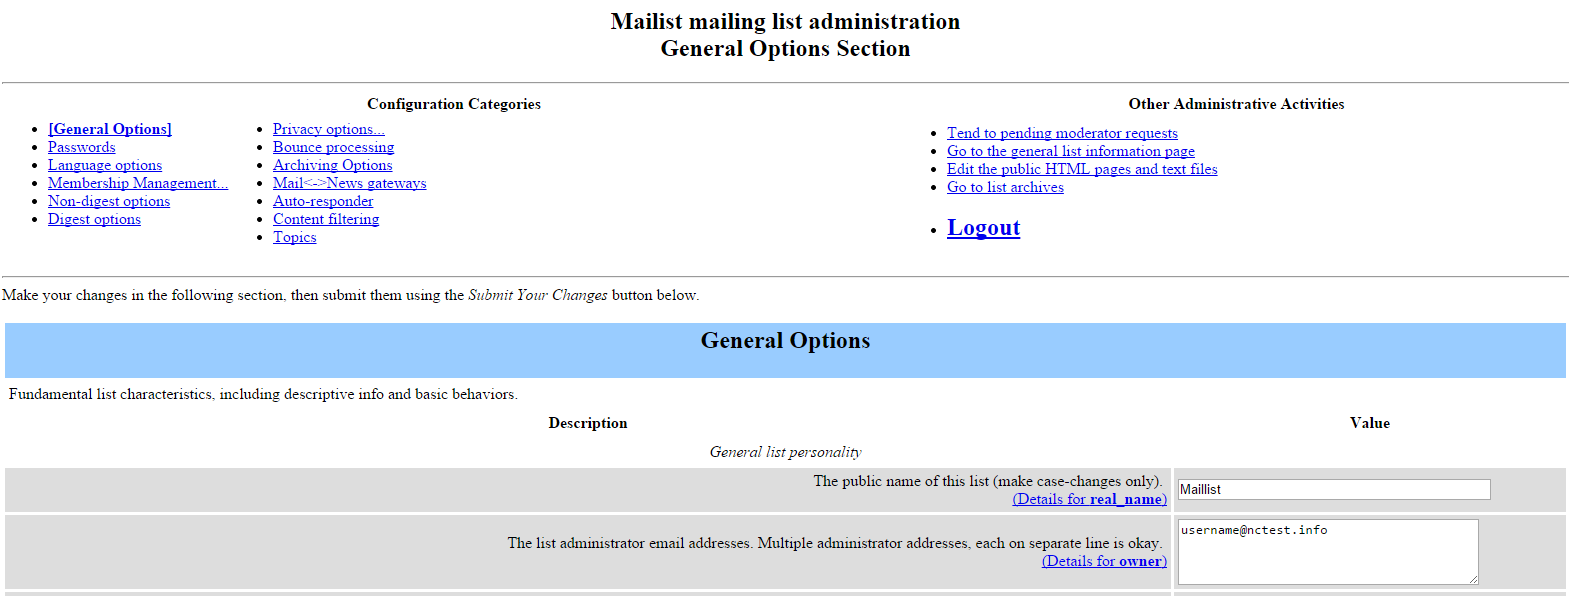
Among the most common tools to manage your mailing lists with, you can find the following ones:
General options- Passwords: change list ownership passwords
- Language options: set default and supported languages for your mailing lists
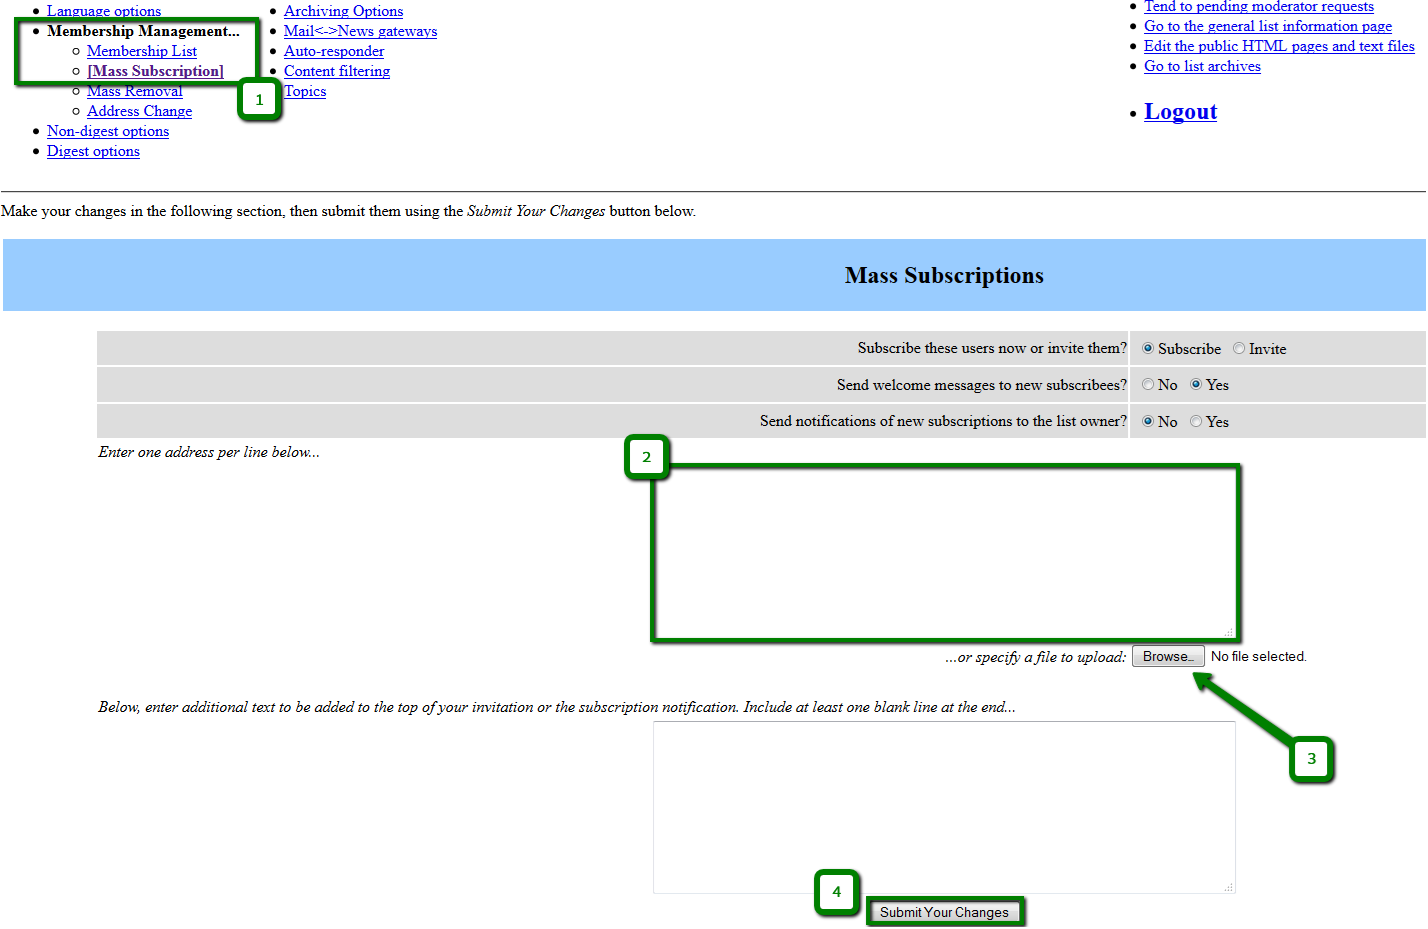
Membership Management- Membership List: list of currently subscribed users
- Mass Subscription: subscribe new users or send invitations. You should only add a required email address into a corresponding field (2) or import it from a file (3). Once done, click Submit Your Changes (4).
Mass Removal option removes users from your mailing list
Privacy options- Subscription rules: this section allows you to configure subscription and membership exposure policy
- Sender filters: this section contains the controls for moderation of both member and non-member postings
- Recipient filters: this section allows you to configure various filters based on the recipient of the message
- Spam filters: this section allows you to configure various anti-spam filters posting filters, which can help reduce the amount of spam your list members end up receiving
That's it!
