| Subtotal | $0.00 |
| Subtotal | $0.00 |
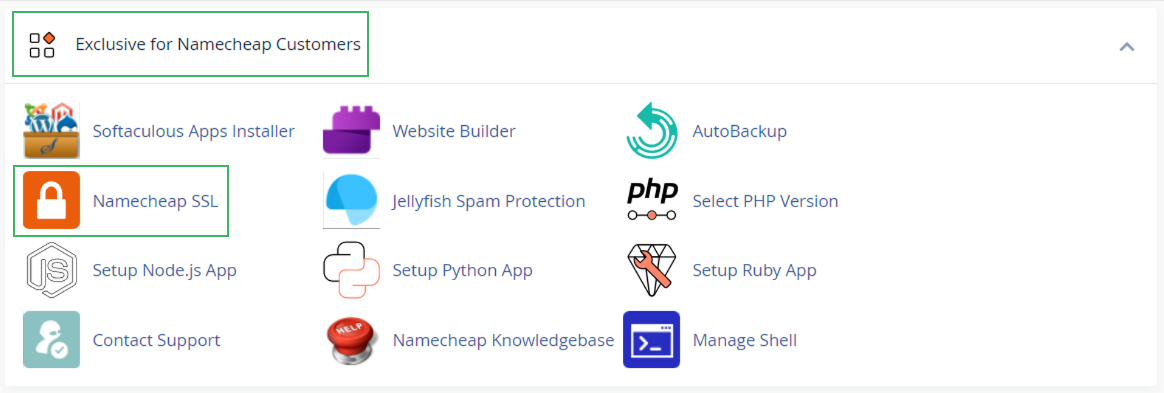
Namecheap SSL is an application on Namecheap shared hosting servers to ease the SSL installation process.
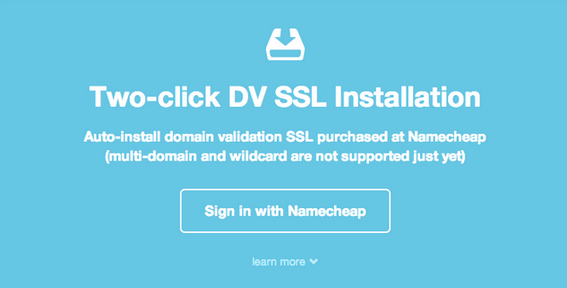
You’ll be redirected to your Namecheap account page with the Sign in with Namecheap button.
Click this option to synchronize the certificates in your Namecheap and cPanel accounts.
Please ensure to be logged in to your Namecheap account.

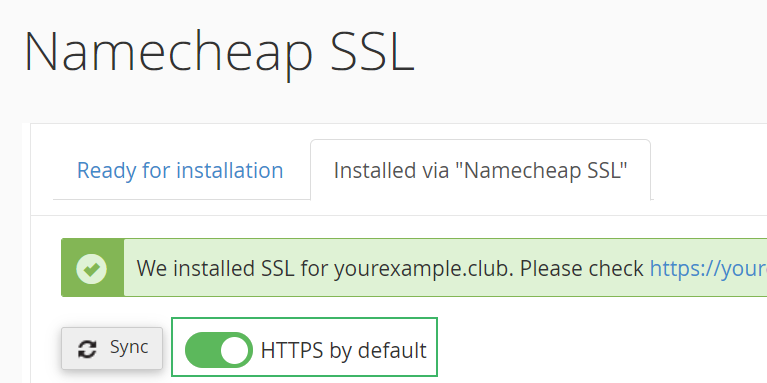
In the Installed via "Namecheap SSL" tab, you’ll find all certificates already installed with the help of the plugin.

Important: Before you begin, please ensure you point your domain to the hosting server. Otherwise, the SSL installation will not be completed, and the certificate will be stuck with the "In progress" status. If you wish to use custom Nameservers instead of Namecheap Web Hosting DNS ones, you should make sure that both the main domain and the www subdomain are pointed to the hosting server using A or CNAME record.
Here is a how-to video:
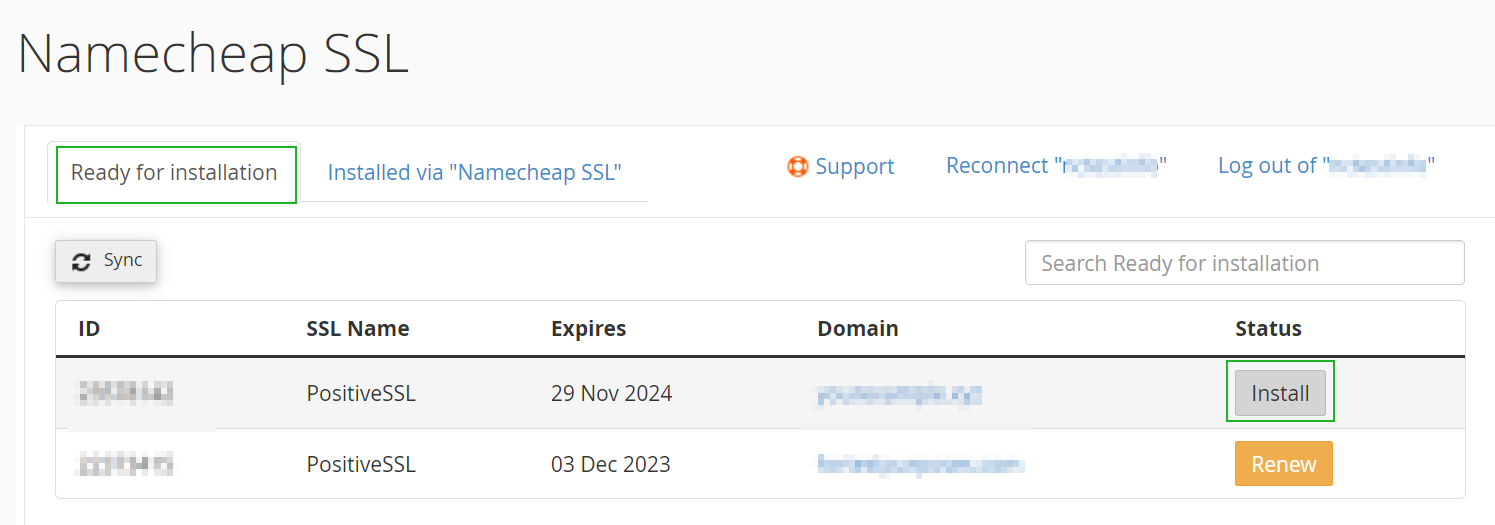
Any certificate in the Ready for installation tab can be installed in just one click. Simply press the Install button beside the certificate and allow about 25 minutes for the process to be completed automatically.

The certificate will move from the Ready for installation tab to the Installed via "Namecheap SSL" one, where you can track it further.
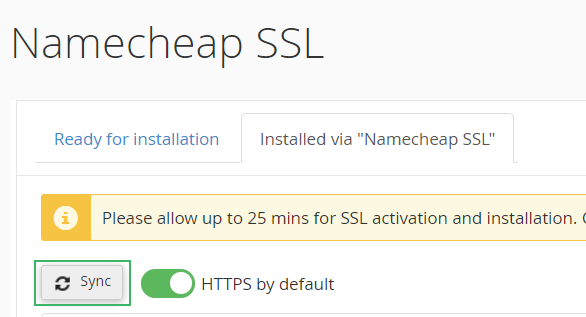
Once the SSL is installed, its status will become Active. Click the "Sync" button any time to force the status update.
Tips
The promo PositiveSSLs that are supplied with a shared hosting plan and newly added add-ons/subdomains do not require any actions from you.
The Namecheap SSL plugin installs such certificates automatically on the corresponding domain or subdomain as soon as it is created if the domain is pointed to the hosting server. It also enables HTTPS redirect. Here's how it works:
Step 1. Add a new subdomain in cPanel and click Create.


Step 2: The plugin will tell you that a domain or subdomain was successfully added and that HTTPS redirect will be enabled when the SSL installation is done.
That’s it. Allow up to 30 mins for the SSL installation to complete and update the redirect settings, and you’re all set.
On this page you can also navigate to "Namecheap SSL" to view SSL statuses and manage redirects for your domains.

Step 3 (optional): Click the "Verify HTTPS redirect settings" link. You’ll be redirected to the Installed via "Namecheap SSL" tab with the certificate showing its current status:

To update the certificate status, use the Sync button.

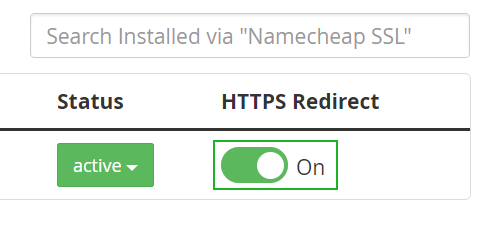
Once the SSL is installed, the plugin will turn on HTTPS redirect for your website. If you don’t want redirect for this domain, simply turn off the HTTPS Redirect toggle next to it.
If you don’t want to use the free SSL offer, or want to manually set redirects to future domains or subdomains, disable the "HTTPS by default" toggle next to the Sync button.
By doing this, free SSL will be installed, but HTTP and HTTPS URLs will work individually. Existing HTTPS redirect settings for your domain will remain unchanged.
Note that disabling the HTTPS by default toggle doesn’t change the already selected redirect states. For example, if you have a "Pending" toggle in the tab, it will remain "Pending" until you turn it off specifically.

HTTP to HTTPS redirects can be managed in the Installed via "Namecheap SSL" tab using the HTTPS by default and the HTTPS Redirect toggles.
The HTTPS by default option enables redirect for all the promo PositiveSSLs in the tab. It is turned On by default. When the toggle is disabled, HTTPS redirects can only be enabled manually for each domain.

Note: HTTPS by default is only available for automatically installed SSLs at this time

The HTTPS Redirect states:
Note: HTTPS Redirect turns to the Off state for all expired SSL, so there are no security warnings in browsers if you don’t renew.
Note: Please keep in mind, that if you are using Prestashop, Magento or OpenCart CMS to build your web site, there may be issues with insecure content. Please contact our Support Team in order to resolve the issue.
The certificates in the Installed via "Namecheap SSL" tab may have the following statuses:
Feel free to use this video tutorial on how to renew your SSL certificate using "Namecheap SSL":
A Renew option appears next to the certificate in the Installed via "Namecheap SSL" tab when it is due to expire: within 30 days before the SSL expiration.
Upon clicking on Renew, you will be redirected to your Namecheap account panel to purchase the renewal SSL through the Shopping cart.
Once it is done, the plugin will attempt to install the renewal certificate automatically. It usually may take up to 30 minutes for the "Namecheap SSL" to install the renewal SSL for the domain pointed to the hosting server.
Note
: You can use the Retry option in your Namecheap account panel - SSL Certificates list any time to re-initiate the auto-installation via "Namecheap SSL" plugin.

Need help? We're always here for you.