So this has happened: You are a happy owner of a hosting account, and you want to fill it with content – files. While you still seem happy, deep inside yourself, you start rambling on how to upload files and what a hassle this can turn out to be. But we will stop you right there: It’s not hard and we will prove it to you.
There are several ways to upload a site – we will provide you with the most common ones:
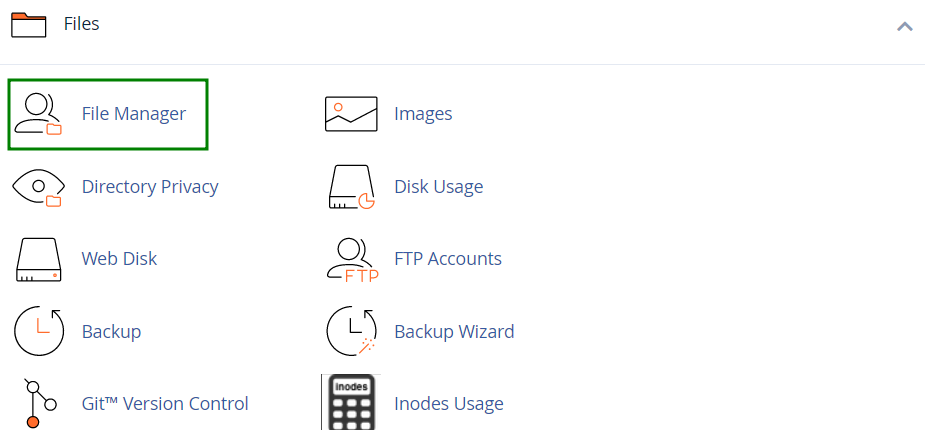
1. Go to cPanel >>
Files section >> the
File Manager menu:
2. You will be taken to home directory by default:
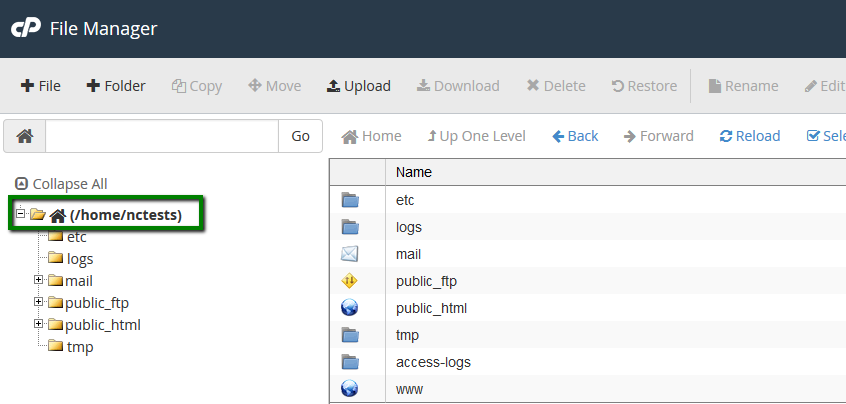
From here you can move to the root folder for your website. If you wish to upload the content for the main domain, navigate to public_html directory:
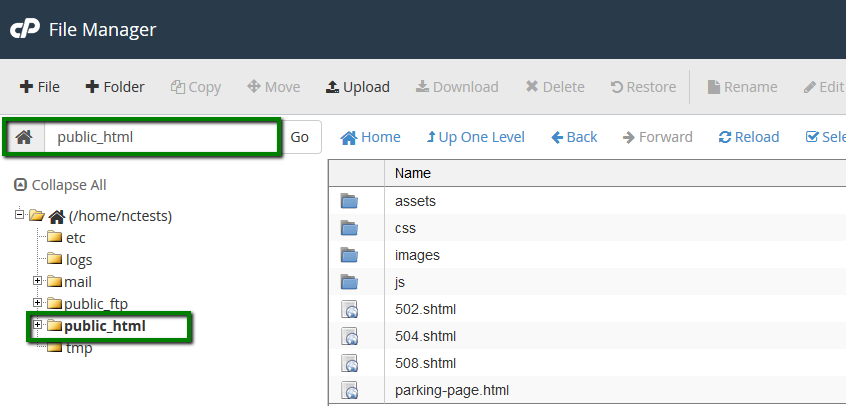
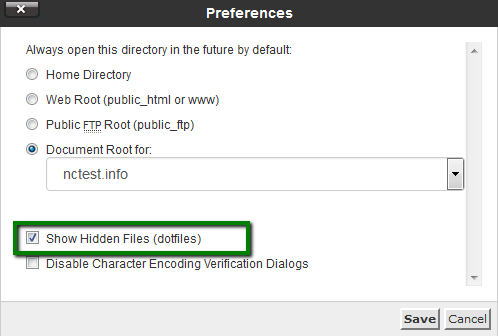
3. If you want to view hidden system files such as .htaccess or others, click on Setting in the right top corner:

And enable Show Hidden Files (dotfiles) in the pop-up window:
4. Hit Upload button:
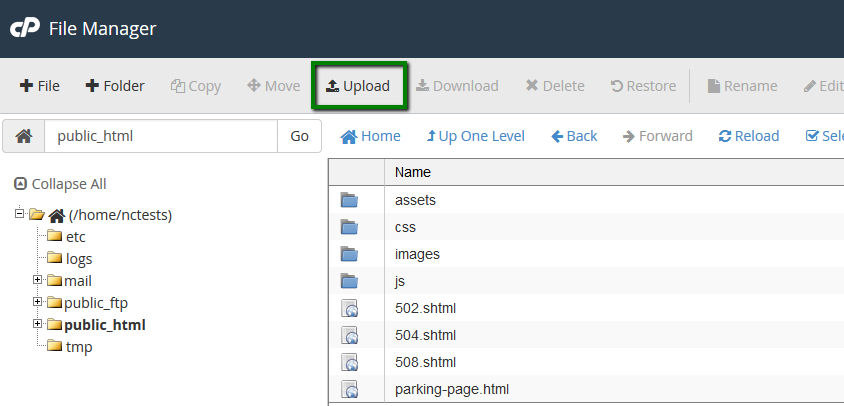
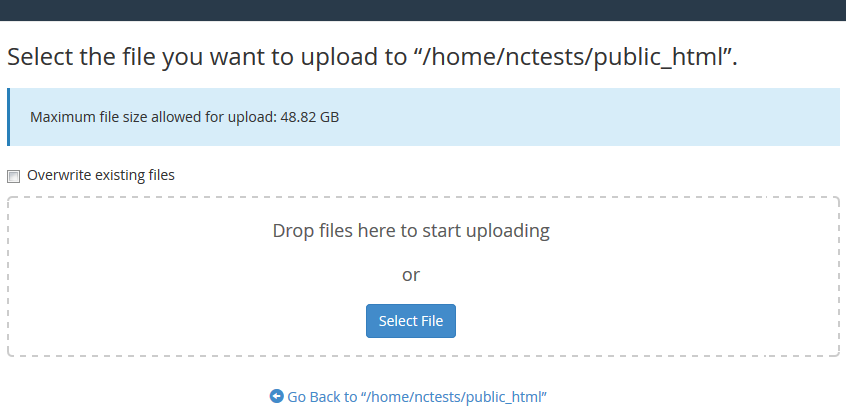
5. Then click on Select File or simply drag-and-drop the need files from your local machine:
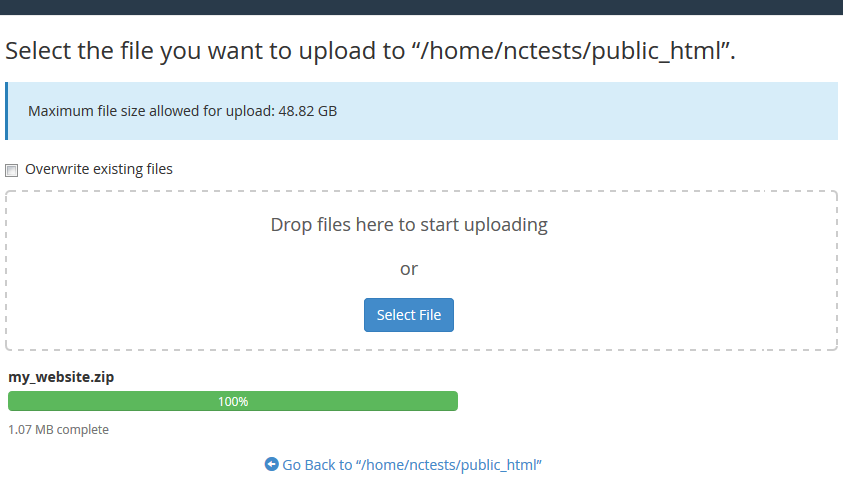
6. Once uploaded, you will see this message:
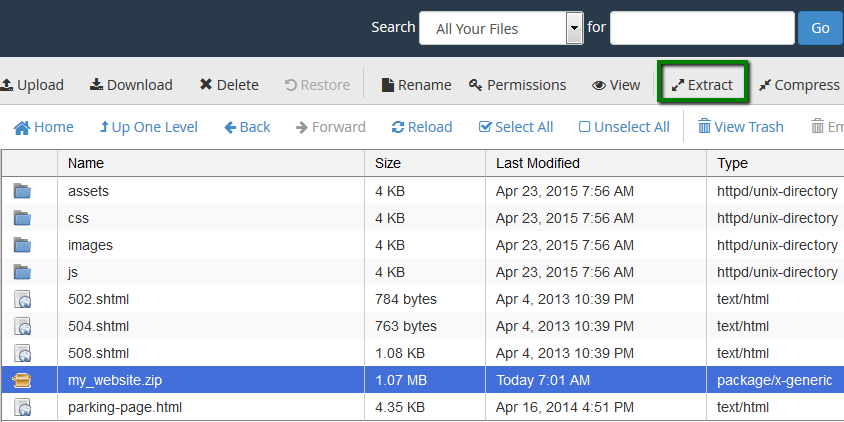
7. You can also Extract or Compress archives which is very helpful and fast especially when uploading/downloading multiple files:
You can find a more detailed guide on how to use File Manager in cPanel here.
While File Manager is instantly accessible via cPanel and does not need to be installed additionally, it is considered to be less convenient than an FTP client.
FTP clients (recommended for a large number of files/if the website files are frequently updated)
An FTP client allows you to quickly handle files and get instant access to your web space. The only downside is that you will still need to use cPanel in case you want to extract files because FTP clients do not support this feature.
There are plenty of FTP clients, and you can choose one that’s up to you. If you ask us, we suggest that you use Filezilla - this is a popular FTP client with a friendly interface, easy to use and simple to configure.
1. Download the Filezilla client from the official site.
2. Once you’ve installed it and see the Filezilla icon on your desktop, launch the program.
3. It is possible to connect through different protocols:
FTPes (explicit SSL mode, encrypted):
- Host: ftpes://server your account is hosted on
- Port: 21
- Protocol: FTP
- Encryption: Require explicit FTP over TLS
- Logon Type: Normal
- User: your cPanel username
- Password: your cPanel password
SFTP (SSH-based secure FTP, encrypted):
Once all the settings are filled out, click on Quickconnect.
You are ready now to work on your website!
The illustrated guide about the FileZilla setup can be found here.
One more option to upload files is via SSH access. It can be convenient when you need to transfer/move the website files from another source. For this method, you will need the direct link to your files in the .zip or .tar.gz extension, e.g., given by your hosting provider or downloaded from some source.
1. Make sure that SSH is enabled for your cPanel account.
2. Navigate to cPanel >> the Advanced section >> the Terminal menu:

3. If you are opening this menu for the first time, the warning notice will be shown. Click on I understand and want to proceed.
This message won't appear in future sessions.
4. To upload the archive to your home folder, run the following command:
wget https://link-to-your-files.tar.gz
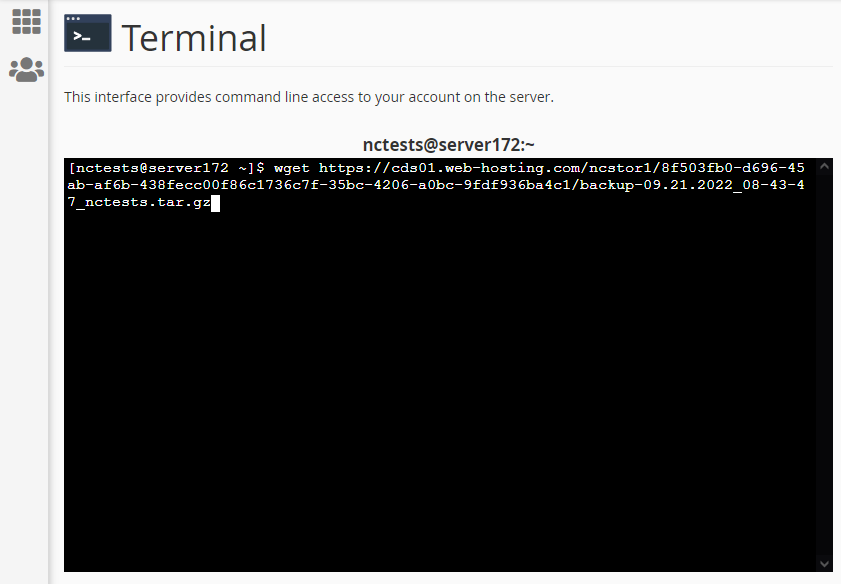
Notes:
• You can paste the link to Terminal by right-clicking the mouse button >> Paste.
• In case you want to upload the website to a folder (e.g., public_html), first, run the cd folder_name command to access this folder, and then use wget to upload the archive.
5. Wait till the upload is completed to 100%:
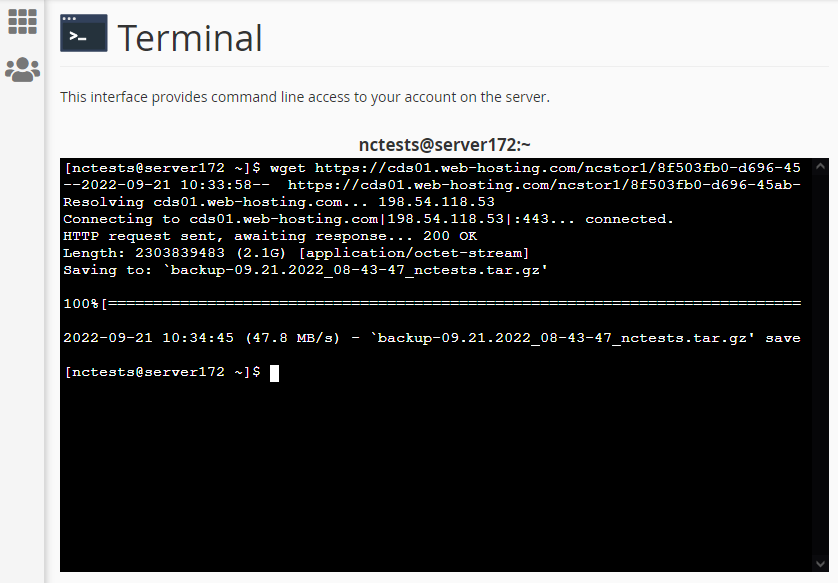
6. Then you can access File Manager and navigate the archive in the corresponding folder (in our case it is the home folder):

Now you can Extract files to the site folder and enjoy your website. A more detailed guide on how to use File Manager in cPanel can be found here.
Also, the instruction on how to restore single websites from backup archives may become handy.
That's it!
Need any help? Contact our HelpDesk
