If your domain is pointed to our BasicDNS, PremiumDNS or FreeDNS, you can configure mail service and MX records in your Namecheap account.
You are welcome to use the video guide or follow the text instructions further in the document.
NOTE: Before setting up your mail service, be sure that there is no CNAME record created for a bare domain, (e.g., yourdomain.tld) in the Host records section, or email will not work correctly. CNAME has the highest priority and prevails over all the other records for the host name, including MX Records which are responsible for mail delivery.
To set up MX records for your domain, follow these steps:
1. Sign into your Namecheap account in the top left corner of the page.
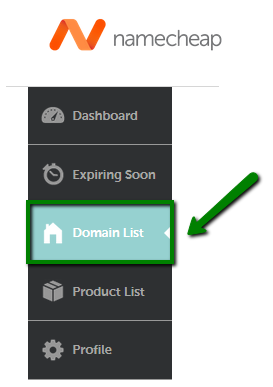
2. Select Domain List in the left sidebar:

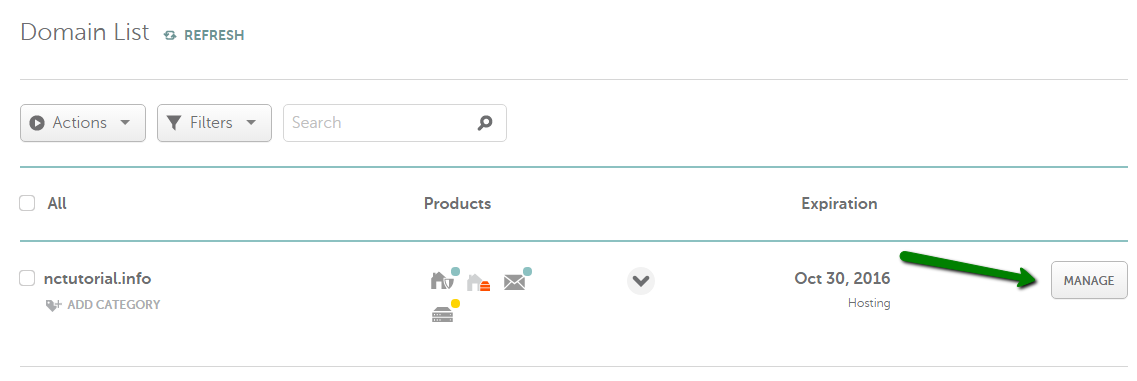
3. Click Manage next to the domain name you wish to set DNS records for:

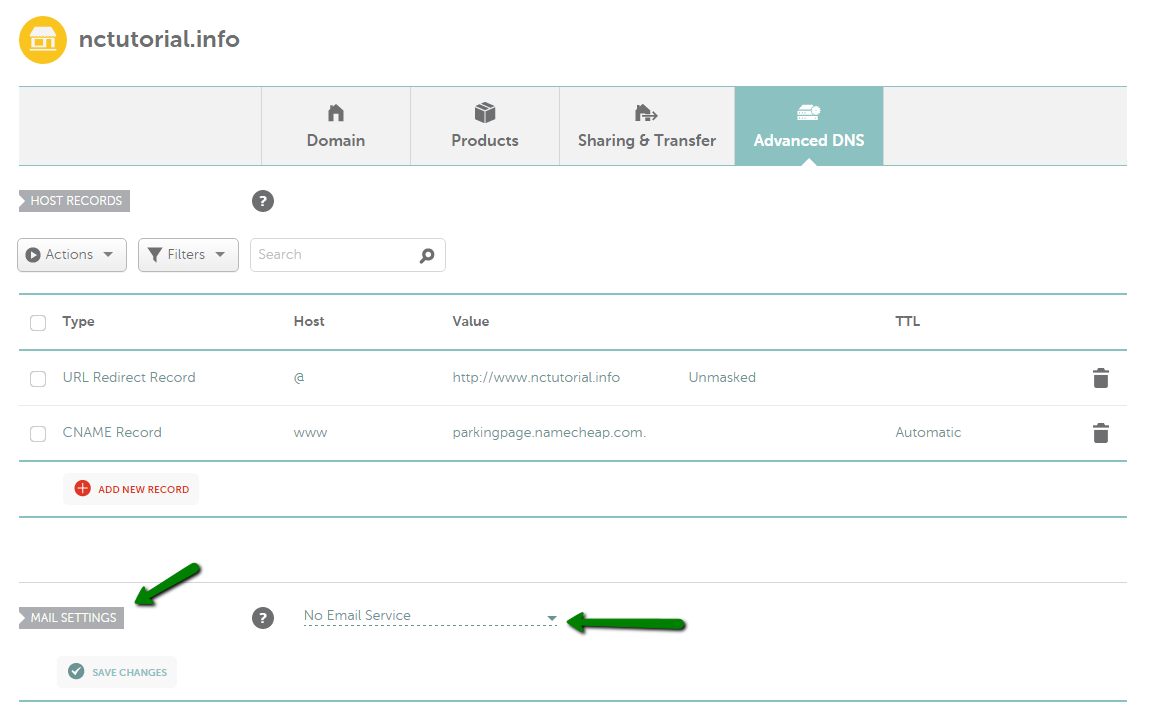
4. Navigate to the Advanced DNS tab and go to the Mail Settings section (not able to edit Host Records?):

Here, you may choose one of the following Mail Settings depending on the mail service you wish to use:
- No Email Service- if you wish to use no mail service. Your domain will have no MX records.
- Email Forwarding- if you wish to create personalized e-mail addresses for a domain and forward emails to other email accounts of your choice. The MX records will be set up automatically after selecting this option:

- MXE record is used for forwarding mail to a mail server's IP address:

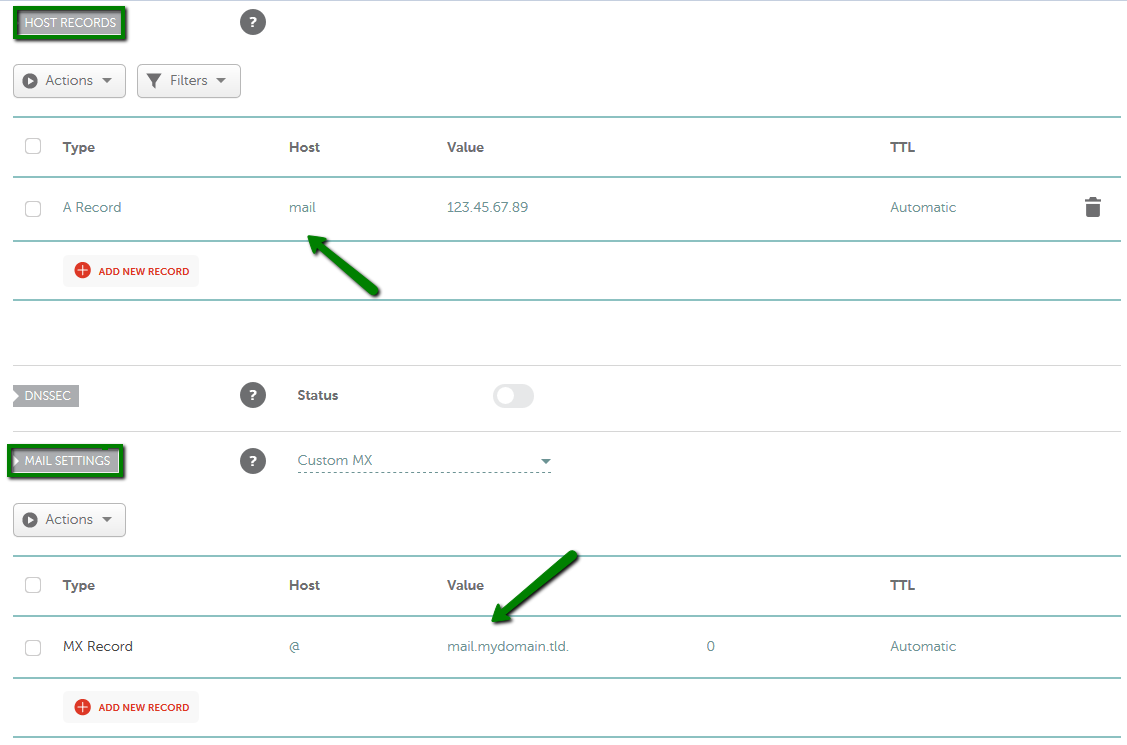
- Custom MX is used to set MX records for third-party mail services, like cPanel webmail service (if you wish to use cPanel mail service with default nameservers), Zoho mail, Outlook.com, etc.

It is possible to indicate your own domain as the mail server address like mail.domain.tld or domain.tld. Please note that the corresponding A record pointing to the IP address of the mail server should be created in the DNS settings:
- Private Email - if you wish to set up MX records for the Namecheap Private email service. The MX records will be set up automatically after selecting this option:

- Gmail - temporarily not working. Please configure your records for Google Workspace using the 'Custom MX' option.

NOTE: Customers who subscribe to Google Workspace after April 2023 can use one
MX record:
Type: MX Record | Host: @ | Value: SMTP.GOOGLE.COM | Priority: 1 | TTL: Automatic
Once all necessary settings are selected, be sure to save changes. Normally, it takes 30 minutes for newly created records to take effect.
That's it!
If you have any questions, feel free to contact our Support Team.


